


Halloween chocolate candy apples are a quick and effective idea for your spooky Halloween party snack table. All you need are just 3 ingredients and 5 minutes to make them, plus some time to set. They are fantastic for making ahead.

Jump to:
Why To Make These Halloween Chocolate Candy Apples
These homemade chocolate apples are delicious, easy, and light snacks for kids and adults at your Halloween party. Imagine the crispy chocolate melting in your mouth in combination with the sweet and crunchy bite of a fresh apple...
The recipe contains just 3 ingredients and most of them are already in your pantry, so you can make these candy apples even on the day if you decide on short notice! Plus, making them at home is budget-friendly, and you know they are as fresh as they can be.
You can be creative – there are no rules if it comes to decorating the apples! Coat them in chocolate and add colorful sprinkles, candy eyeballs, chopped nuts, or more layers of chocolate to make wonderful creatures from the world of Halloween land.
Also, you don’t have to stick to the ‘whole’ apple idea – the apples can be cut into slices or bites (half-moon) and covered in chocolate individually. This may be a better option if your guests are mostly small children or if you are making a Halloween spread (charcuterie board) with many different smaller items etc.
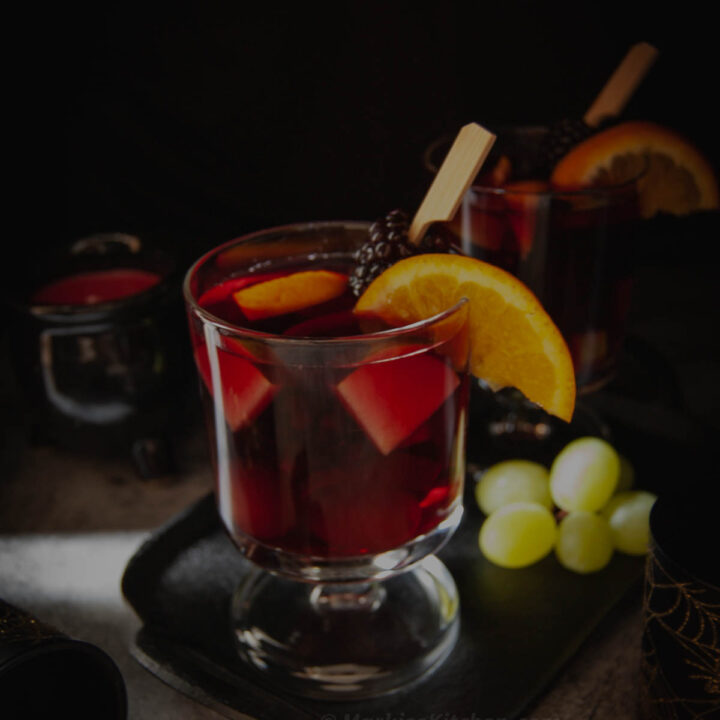
Looking for grown-up Halloween party ideas? Try this easy blackberry Halloween Sangria, or pumpkin and goat's cheese pizza!

Key Ingredients for Halloween Chocolate Candy Apples
As I said before, this recipe contains only 3 basic pantry ingredients that everyone who’s baked at home will have:
- Fresh apples – I am using gala apples, but any sweet variety of apples will work here. Try for example red and/or golden delicious, pink lady or fuji. Check the apples for any defects or bruises before cooking - these can shorten their shelf life, so it's best to avoid using them, but it won't be a problem if you're planning eat them soon after making these (within 2-3 days).
- Chocolate - choose a good quality cooking/baking chocolate for the coating. It will melt fast and keep its silky smooth and clear texture even after cooling down. Make sure you have enough chocolate, as you may need more of it - depending on the size of your apples, or if coating more apple slices. However, remember to start melting a smaller amount of chocolate, because you can always add more if needed.
- Toppings are added to give extra texture to the chocolate apples. You can cover them in anything from sugar sprinkles and strands, candy eyeballs, chopped walnuts of hazelnuts… check your baking cupboard to find inspiration on what else could be used.
Substitutes & Variations
This fun recipe for Halloween is relatively versatile. You can replicate the steps and method by using various ingredients. Here are some ideas:
- Pears – are closer to apples than any other fruit and have a similar texture, just different shapes. Make sure they are fresh but not overripe (otherwise they could get too soft too quickly).
- Bananas, strawberries could be coated as well - great if you have some spare melted chocolate!
- Caramel candies (caramels/toffee) will create a delicious and crunchy caramel coating. Allow more melting time if necessary.
Equipment
In terms of equipment, you will need a microwavable bowl and access to a microwave. Alternatively, you can melt the chocolate on the stove (hob) – use a saucepan and a glass or metal bowl for melting the chocolate.
Short bamboo or cocktail sticks are handy for holding the apple without dipping your fingers in the melted chocolate. However, you can do without them - just remember to wash your hands before and after (which is recommended anyway!).

How To Make Halloween Chocolate Apples
This homemade recipe for Halloween apples with chocolate is super simple, just follow these steps:
- Melt the chocolate (in a microwave or above a water bath).
- Wash the apples and pat dry. Prick them with a bamboo stick.
- Coat the apples in the melted chocolate. Add sprinkles or other toppings and leave to set in the fridge.
Exact measurements and detailed instructions can be found in the recipe card below this post.
Top Tips
- Chocolate melts quick, so be ready to work fast once it all melts in the bowl.
- If the chocolate is too thin and runny, let it to cool down a little bit (take it off the heat if using a water bath). It will get thick again – a thicker chocolate coating will stick better to your apples (and vice versa). Put it back above the water bath or microwave it for a few seconds if you need it slightly thinner.
- Do not stir the chocolate too vigorously, as you don't want to create any bubbles in the coating.
- If using white chocolate as a second layer (like those ‘mummy’ apples on the photo), wait until the dark chocolate is completely firm. Melt the white chocolate in a different mixing bowl to prevent discoloring.
- The chocolate might take a few hours to get firm, so be patient and don't move the apples during that time. Alternatively, place them in the fridge to cut down the settling time.
Storage
These Halloween candy chocolate apples and slices will stay fresh in the fridge for up to 3 days.
Keep them in an airtight container and take them out of the fridge 30 minutes before serving.
These chocolate-coated apples are not suitable for freezing.

📖 The Recipe

Halloween chocolate apples
Ingredients
- 6 apples , (gala, pink lady, red or golden delicious etc)
- 100 g milk chocolate , (or dark or white or a combination)
- 50 g white chocolate (optional)
- 6 short bamboo sticks
Toppings (optional):
- colored sugar sprinkles, 2 types
- candy eyeballs
- chopped walnuts or hazelnuts
Instructions
- Cut the chocolate into smaller pieces and place into a microwave-safe bowl. Microwave in two 10-20s bursts, checking after each if it needs more time heating up (this will vary based on the power of your microwave). Repeat until the chocolate is melted.
- Wash and pat dry the apples, cut them into slices if preferred. Prick the apples (or slices) with a bamboo stick.
- Coat the apples (or slices) evenyl in the melted chocolate. Add sprinkles or other toppings and leave to set in the fridge for at least 15 minutes or until firm. Keep refrigerated until you’re ready to serve these.
Notes
- Pears,
- Caramel candies (caramels/toffee),
- Bananas or strawberries – use to coat any leftover chocolate (any amount).

The Dragon's Picnic
I recall toffee apples from „Guy Fawkes“ night but these chocolate covered ones look like a great way to eat apples 🙂
Country Girl in London
Thank you! 🙂 my sensitive teeth unfortunately can't handle toffee or hard candy coating, but chocolate is a great option! 🙂
Nourish
These are adorable! We have so many apples right now so this is a perfect recipe for us.
Country Girl in London
Thanks so much! Let me know if you tried making them! 🙂
Nourish
Will do 🙂
Azilde Elizabeth
These are soo cute and yummy!
Country Girl in London
Thanks so much! 🙂
cookingwithshy
How cute are these chocolate apples! Perfect for Halloween.
Country Girl in London
Thanks so much! 🙂
Geri Lawhon
Getting my apple a day and chocolate this way is a great idea. I love the ones with the eyes.
Country Girl in London
Thank you so much! Especially with dark chocolate, these chocolate apples are more on the healthier side! 🙂
nitinsingh
As a indian it’s v different 🙂 toffee 😋😋 n chocolate
Country Girl in London
🙂 🙂
Bernadette
These are so clever.
Markie
Thank you! Love how easy and tasty they are!